DIY Ideas With Acrylic Sheet
If you’re a regular reader of our blogs, you already know we talked a lot about the acrylic sheet DIY application! We even showed you how to cut, bend, polish, or even mold an acrylic sheet, right?
So you may ask, after learning so many amazing tips and techniques, what can you make with an acrylic sheet? And how to choose a trustworthy manufacturer of acrylic sheets in China?
In this guide, I’ll give you some of the best products to build with these sheets at your home.
Let’s jump into it!
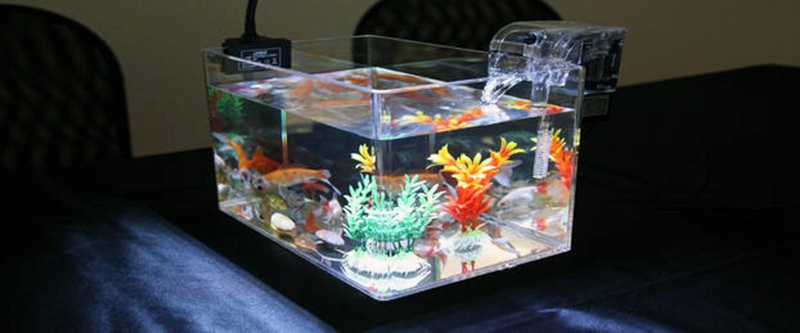
Aquariums
Aquariums are one of the most popular items when it comes to DIY. Unlike some other DIY projects, you don’t just put aside an aquarium and make it a showpiece. Rather you can use it for your actual hobby. How great is that?
How do you make an aquarium with acrylic? The process is quite simple and you don’t need a lot of tools and accessories.
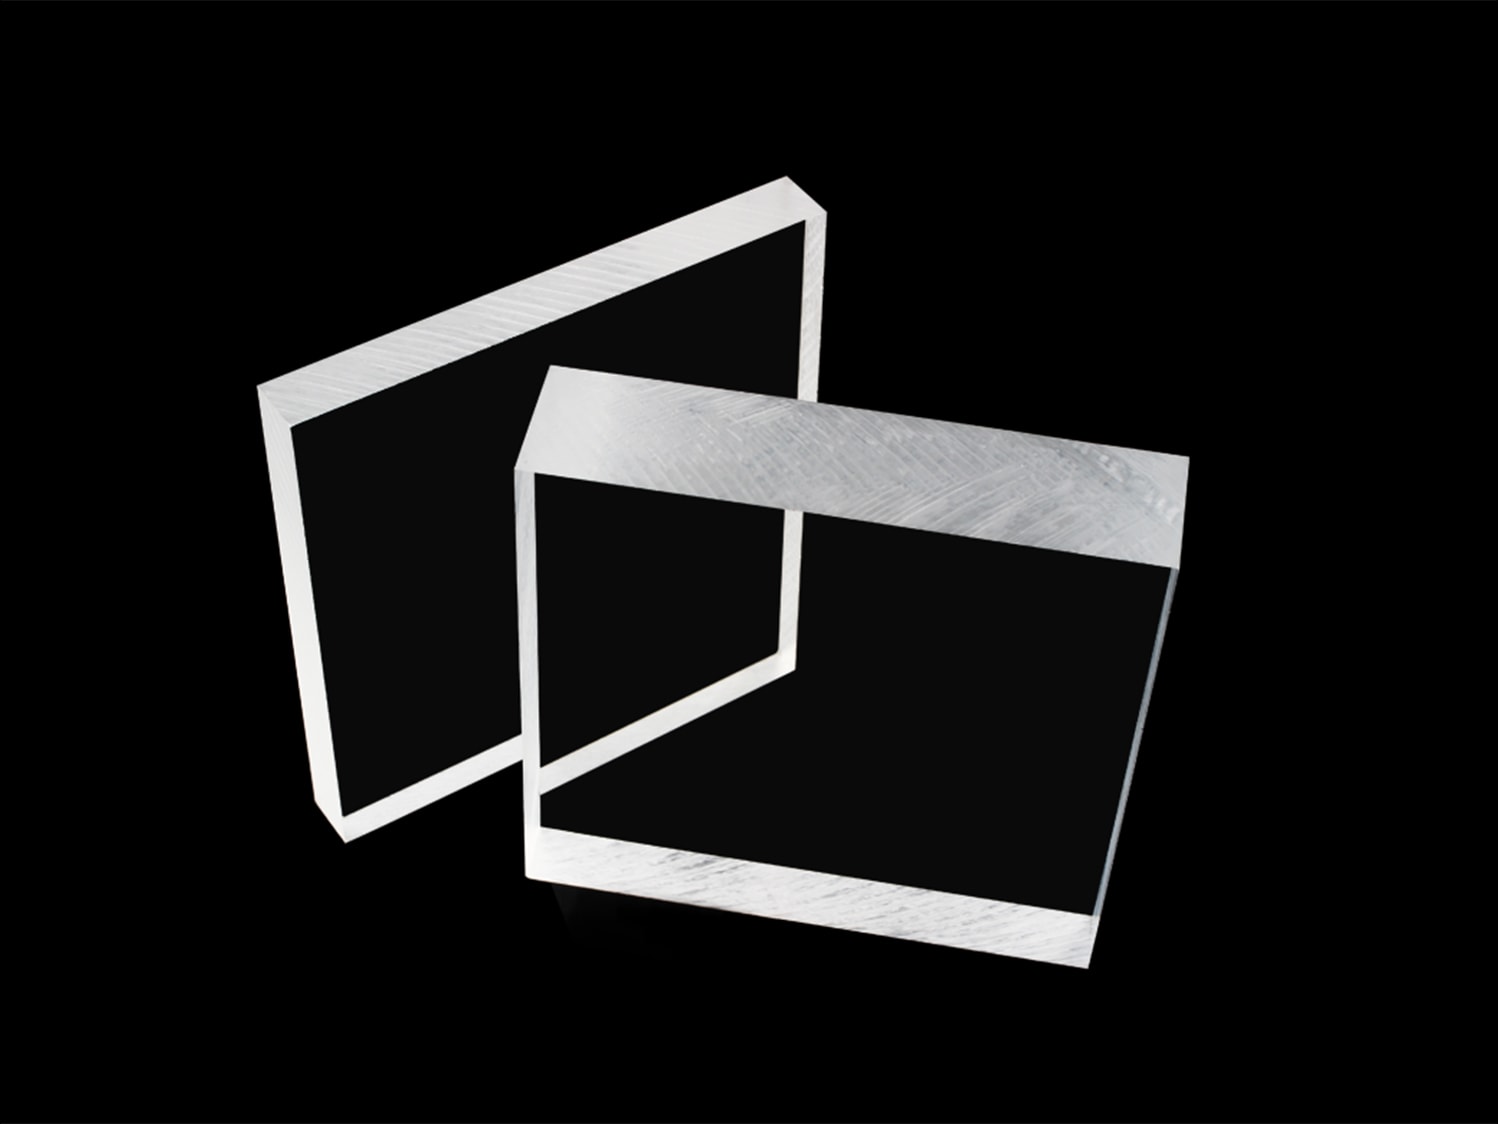
First, decide the size of your aquarium. Your aquarium size will define the length and thickness of your acrylic sheets. As a general rule, you can follow the below measurements:
Keep in mind that water is a very heavy material. You’ll have to support the weight with proper thickness and assembling of the sheets.
Now the most important part.. assembling.
Once you have the sheet, cut them according to the right sizes and shapes. Know more about how to machine custom acrylic.
Make sure the edges aren’t too polished or uneven, either. Rough edges are better for gluing, but they should be able to stand evenly on the surface.
Use silicone to glue the sheets together. I recommend using a glue gun and duct tape, too, to make the process easier.
Apply the same strategy for all the sides and build the structure. When done, leave the structure for a day, and let it be hardened. Then look for any mistakes or flaws in your project and fix them as needed.
By the way, you need to know polycarbonate sheets, acrylic sheets, machining polycarbonate, and custom acrylic.
And that’s it!
Pencil Box
If you could build a fish tank, making a pencil box should be a child’s play for you. The best part is you don’t even need to buy sheets. Small leftovers from your other projects would be more than enough for a pencil box.
You’ll need a bottom part, preferably square in shape. And four equal sides. You can use glue to stick the pieces together and voila! You have a self-made pencil box!
Know the difference between acrylic and glass;
Know the difference between acrylic and polycarbonate;
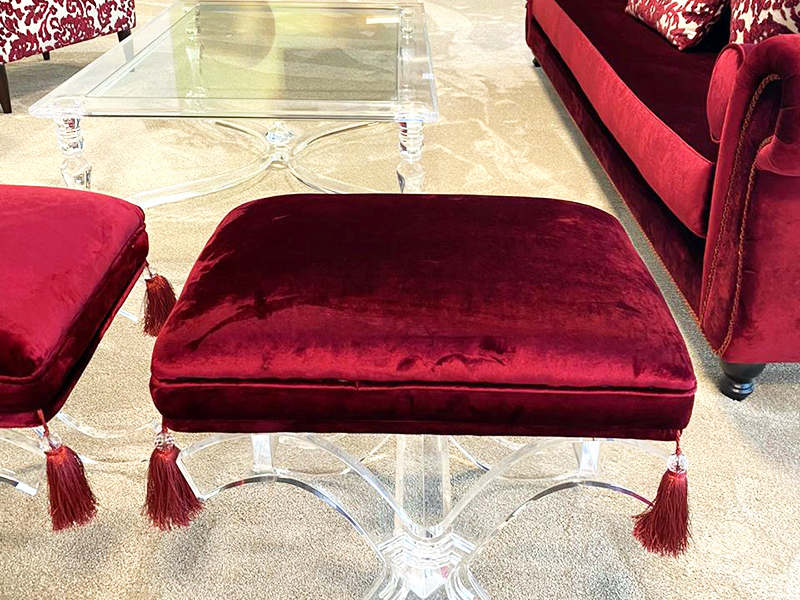
Coffee Table
You’ll need a bigger piece of sheet for a coffee table, but the process is way simpler. First, you’ll have to get a table stand and get an idea of what would be the length and width of your table.
Then get a bigger acrylic sheet and cut it into the right size. If you have read our blog about cutting an acrylic sheet, this should be an easy task for you.
You won’t need any gluing in this project, which can be a relief for you. All you need to do is cut it in the right size and polish the edges. And that’s it.
Floating Photo Frame
You don’t need a thousand-dollar art for making your wall look beautiful. With the help of acrylic and a little creativity, you can make your wall shine!
First, you’ll print out your favorite picture, according to the size of the frame you’ll want to have on your wall. Then you’ll need to buy or cut an acrylic sheet similar to the printed image but some inches wider in every aspect.
Then you’ll need to drill the sheet in all four corners. Make sure you’re drilling at least 2 inches far from the edges.
Now adhere the photo directly to the acrylic using glue dots. When the image is well adjusted, stick the frame to the wall using screws.
And you are done!
Related Blogs
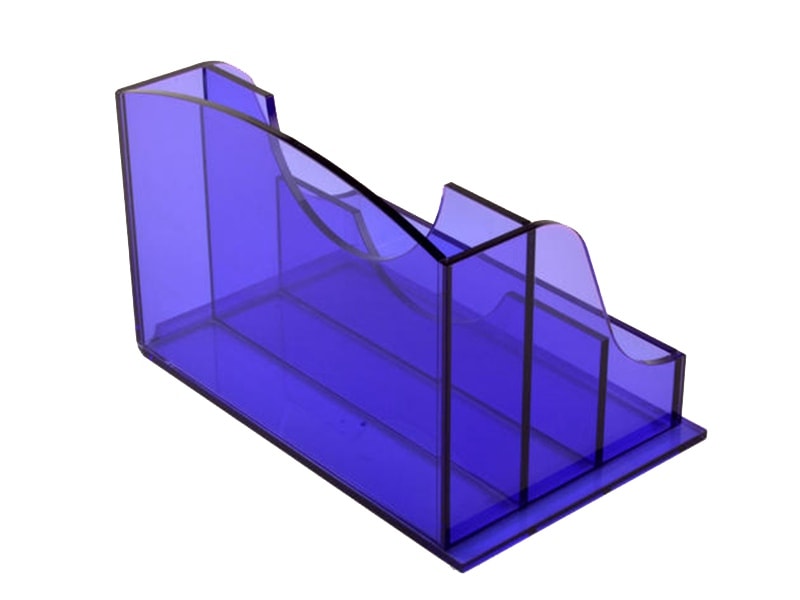
Mobile Stand
This one can be another of your favorite items to make. You can create an astonishing mobile stand with an acrylic sheet at home.
How? Let’s see…
You’ll need a piece of acrylic sheet with a slightly large width and twice the length for your phone for this to work. The thickness of the sheet should be around 4cm or more.
For heating, you’ll need one stove or heating gun, and for safety, you should wear a pair of heat-resistant gloves.
Because we’ll heat the acrylic, it’s better to use slightly thicker sheets. So it can withstand the heat and doesn’t crack.
Before you do this, make sure you’ve read this blog to know exactly how to bend acrylics.
So that’s out of the way, let’s begin.
First, you’ll need to mark two places where you’ll want to bed the piece. The first one is near the top or bottom edge to stand on the table surface. And the second mark should be there where the phone will stand on it.
When you’re ready, apply heat to the marked area. Depending on acrylic’s thickness and your heat power, you’ll need to keep applying for a couple of minutes. Ensure that all the surface from one edge to another gets the same amount of heat, especially near the edges.
After a couple of minutes of applying heat, put the piece near the table’s edge and apply pressure downwards. Don’t use too much pressure at once as it can break the part if it isn’t heated all the way.
If not, apply more heat and repeat the process. Do the same for other bend areas too. When done, you should have a perfectly shaped mobile stand!
How amazing is that!?
Now It’s Your Time
What projects have you done so far using acrylic sheets? And did you have fun? I bet you did! Making great things is always fun.
If you’re a DIY lover like me and need a bulk amount of acrylic sheets for your projects, why depend on local suppliers or vendors? Contact us directly and get the best material straight out of the factory!
You can get in touch with us with the chatbox or our contact page here. Don’t forget to share this article with your friends and family. See you in the next blog. Until then, do more DIY projects!
About UVPLASTIC
UVPLASTIC is a leading manufacturer of polycarbonate in China, meantime, provides machining polycarbonate service. The subsidiary-UVACRYLIC is a manufacturer of plexiglass in China. If you are interested, please feel free to contact us.
